

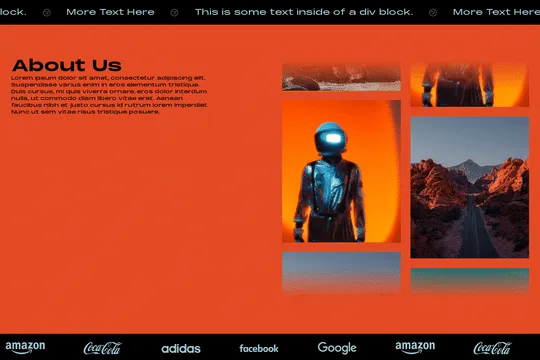
Marquees are a fantastic way to add dynamic, eye-catching elements to your website. While traditional methods often rely on CSS or JavaScript, you can achieve an infinite marquee in Webflow using only Webflow interactions. Here’s a step-by-step guide to creating a seamless marquee that can move horizontally or vertically in any direction.
Step 1: Set Up Your Elements
- Create a Parent Wrapper: This will contain all the items you want to scroll. Ensure the wrapper is the same size as the items inside it.
- Add Your Items: Place the items you want to scroll inside the parent wrapper. These could be images, text, or any other elements.
Step 2: Configure Webflow Interactions
- Select the Parent Wrapper: Click on the parent wrapper to select it.
- Add a Page Load Trigger: Go to the Interactions panel and add a new interaction. Choose the "Page Load" trigger.
- Create a New Timed Animation: Name your animation (e.g., "Marquee Animation").
Step 3: Define the Movement
- Initial State: Set the initial position of the parent wrapper to 0% (this is where the animation will start).
- Final State: Add a new keyframe and set the position to 100% (this is where the animation will end).
Step 4: Customize the Animation
- Duration: Adjust the duration to control the speed of the marquee. A longer duration will slow down the animation, while a shorter duration will speed it up.
- Loop the Animation: Ensure the animation loops infinitely by selecting the "Loop" option in the interactions panel.
Step 5: Test and Refine
Preview your page to see the marquee in action. Adjust the duration and other settings as needed to achieve the desired effect.
Examples
- Horizontal Marquee (Right to Left): Set the initial position to 100% and the final position to 0%.
- Horizontal Marquee (Left to Right): Set the initial position to 0% and the final position to 100%.
- Vertical Marquee (Top to Bottom): Adjust the Y-axis positions from 0% to 100%.
- Vertical Marquee (Bottom to Top): Adjust the Y-axis positions from 100% to 0%.
By leveraging Webflow interactions, you can create a clean, code-free infinite marquee that enhances your website’s visual appeal. Happy designing!


