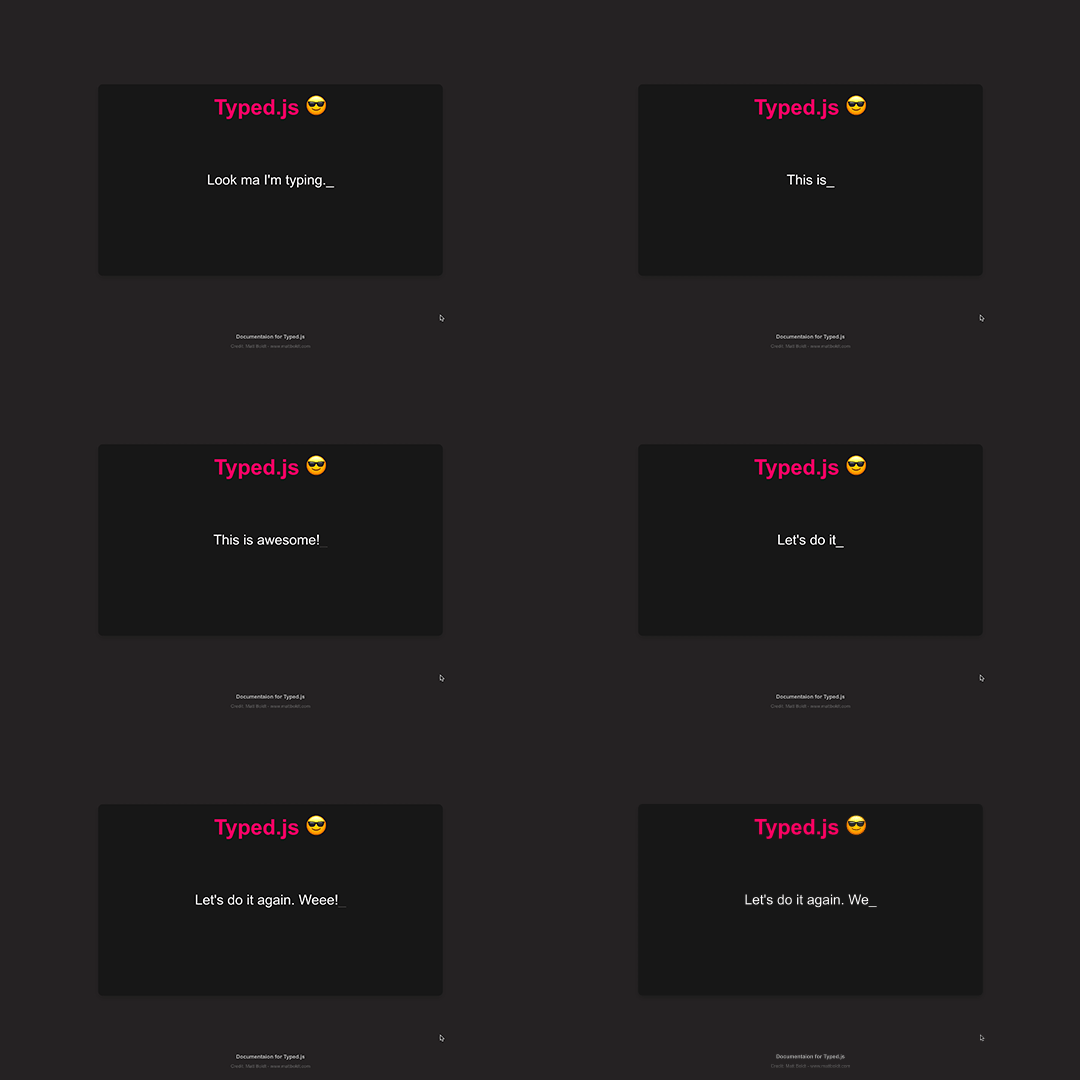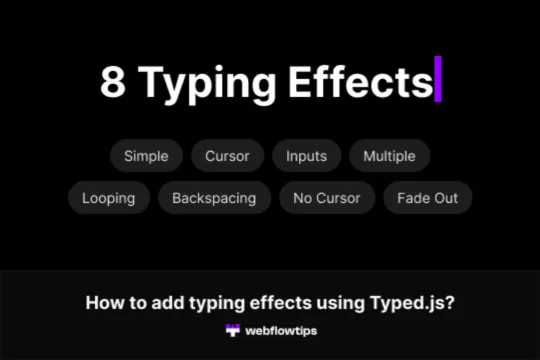

Are you looking to add a dynamic typewriter effect to your Webflow site? Look no further! This cloneable example showcases how to integrate Typed.js to create an engaging typewriter effect where words appear and then seem to be deleted before the next word is typed. This effect is perfect for adding a touch of interactivity and modern flair to your website.
What is Typed.js?
Typed.js is a lightweight JavaScript library that allows you to create a typewriter effect on your website. It has been popular for some time due to its simplicity and versatility. With Typed.js, you can customize various aspects of the typing effect, including the words, typing speed, backspacing speed, delay between words, and more.
How to Implement Typed.js in Webflow
Step 1: Clone the Example
First, clone the example project to your Webflow account. This cloneable includes all the necessary custom code and CSS to get you started.
Step 2: Customize the Typed.js Settings
Navigate to the page settings where the custom code is located. Here, you can update the Typed.js settings to fit your needs. Below are some of the customizable options:
- Words: Update the array of words that you want to appear.
- TypeSpeed: Adjust the speed at which the words are typed.
- BackSpeed: Set the speed for the backspacing effect.
- BackDelay: Control the delay before backspacing starts.
- StartDelay: Add a delay before typing starts.
- Looping: Enable or disable looping of the words.
- Cursor: Customize the cursor that appears during typing.
Step 3: Publish and Enjoy
Once you’ve customized the settings, publish your Webflow site and watch the typewriter effect come to life!
Conclusion
Adding a typewriter effect to your Webflow site has never been easier. With this Typed.js example, you can quickly implement and customize the effect to enhance your website’s interactivity. Give it a try on your next Webflow project and see the difference it makes!
Happy typing!


