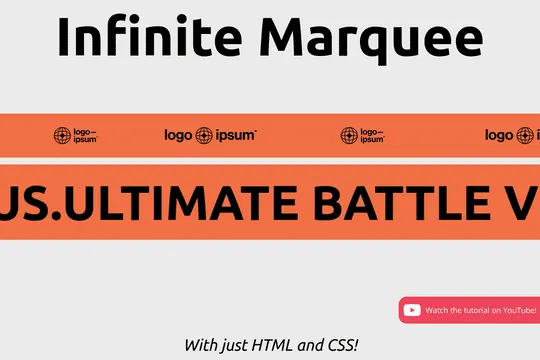

Building infinite marquees with Webflow interactions can be difficult and confusing. This solution allows you to easily add a horizontal marquee to your Webflow site using HTML embeds or Webflow's custom code. The infinite marquee is lightweight and allows you to customize the direction, as well as the speed at which the marquee is displayed on your site. Skip the confusing calculations typically required for native Webflow interactions and add an infinite Webflow horizontal marquee to your site in seconds.
Step-by-Step Guide
1. Add an HTML Embed Element
First, drag an HTML Embed element onto your Webflow canvas where you want the marquee to appear.
2. Insert the HTML Code
In the HTML Embed, paste the following code:
<div class="marquee">
  <div class="marquee-content">
    <!-- Add your marquee content here -->
    <span>Your scrolling text or elements go here!</span>
  </div>
</div>
3. Add Custom CSS
Next, go to your Webflow project settings and navigate to the "Custom Code" section. In the "Head Code" area, add the following CSS:
<style>
.marquee {
  overflow: hidden;
  white-space: nowrap;
  box-sizing: border-box;
}

.marquee-content {
  display: inline-block;
  padding-left: 100%;
  animation: marquee 10s linear infinite;
}

@keyframes marquee {
  0% { transform: translateX(0); }
  100% { transform: translateX(-100%); }
}
</style>
4. Customize Your Marquee
- Direction: To change the direction, modify the
transformproperty in the@keyframesrule. - Speed: Adjust the
10svalue in theanimationproperty to speed up or slow down the marquee.
5. Publish Your Site
Finally, publish your site to see the infinite marquee in action!
Conclusion
Adding an infinite horizontal marquee to your Webflow site is now easier than ever with just a few lines of HTML and CSS. This method is lightweight, customizable, and bypasses the complexities of Webflow interactions. Enjoy your new, smoothly scrolling marquee!


